Introduction
This is a guide to turn an old laptop into a self-sufficient cloud, equipped with:
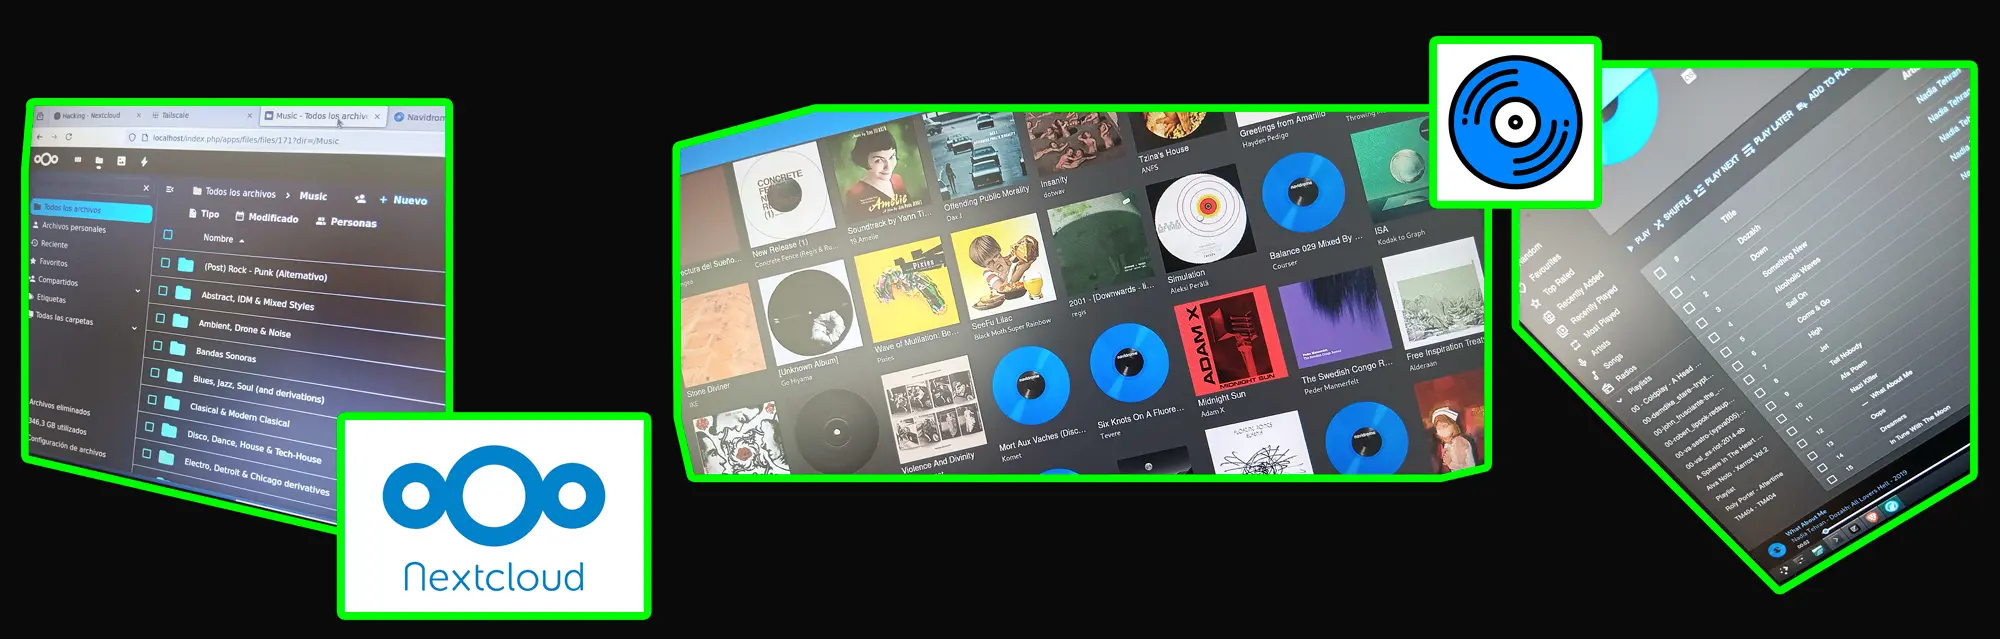
Requirements
- A computer (in my case, a 2015 HP Elitebook laptop).
- An external hard drive (in my case, a 4TB HDD).
- Debian 12 with the XFCE environment installed. The process is probably the same with any Debian-based Linux distribution. I used Debian directly (not Ubuntu or Tails… to name a few), for its stability; and the XFCE desktop environment for being lightweight, ideal for old laptops with few resources.
- Internet connection.
- A desire to tinker!
Step 1: Install Debian 12 + XFCE
I'm assuming you know how to download any Linux distribution and how to create a bootable USB drive with programs like Balena Etcher, for example.
- Install Debian on your computer and select XFCE as the desktop environment (lightweight and functional).
- Partition the disk as needed (expert mode if you dare).
- Create your user.
Step 2: Connect and mount the external hard drive
Connect it and create a permanent mount point:
sudo mkdir -p /mnt/nube
sudo blkid # Identify disk UUID
sudo nano /etc/fstab
# Add the line with the UUID, mount point and filesystem type
Step 3: Install and configure Nextcloud
Dependencies:
sudo apt update && sudo apt install apache2 mariadb-server libapache2-mod-php php php-mysql php-gd php-json php-curl php-mbstring php-xml php-zip unzipDatabase:
sudo mysql -u root
CREATE DATABASE nextcloud;
CREATE USER 'nextclouduser'@'localhost' IDENTIFIED BY 'your_secure_password';
GRANT ALL PRIVILEGES ON nextcloud.* TO 'nextclouduser'@'localhost';
FLUSH PRIVILEGES;
EXIT;
Install Nextcloud:
cd /tmp
wget https://download.nextcloud.com/server/releases/latest.zip
unzip latest.zip
sudo mv nextcloud /var/www/
sudo chown -R www-data:www-data /var/www/nextcloud
Configure Apache:
sudo nano /etc/apache2/sites-available/nextcloud.confContent:
<VirtualHost *:80>
    DocumentRoot /var/www/nextcloud/
    ServerName localhost

    <Directory /var/www/nextcloud/>
        Require all granted
        AllowOverride All
        Options FollowSymLinks MultiViews
    </Directory>
</VirtualHost>
sudo a2ensite nextcloud.conf
sudo a2enmod rewrite headers env dir mime
sudo systemctl restart apache2Now go to http://localhost and complete the graphical installation.
Step 4: Add your Tailscale domain as a "trusted domain"
Edit the configuration file:
sudo nano /var/www/nextcloud/config/config.phpAdd your Tailscale IP or domain to trusted_domains.
Step 5: Install Tailscale
curl -fsSL https://tailscale.com/install.sh | sh
sudo tailscale up
Log in with your account and note the generated IP.
Step 6: Install Navidrome
cd /opt
sudo wget https://github.com/navidrome/navidrome/releases/latest/download/navidrome_0.55.2_linux_amd64.tar.gz
sudo tar -xvzf navidrome_0.55.2_linux_amd64.tar.gz
sudo rm navidrome_0.55.2_linux_amd64.tar.gz
Create configuration file:
sudo nano /opt/navidrome/navidrome.tomlBasic content:
MusicFolder = "/mnt/nube/Music"
Port = "4533"
Create systemd service:
sudo nano /etc/systemd/system/navidrome.serviceContent:
[Unit]
Description=Navidrome Music Server
After=network.target

[Service]
User=kasper8
ExecStart=/opt/navidrome/navidrome
Restart=on-failure

[Install]
WantedBy=multi-user.target
sudo systemctl daemon-reexec
sudo systemctl daemon-reload
sudo systemctl enable --now navidromeNavidrome should be available at http://localhost:4533 or through your Tailscale IP.
Step 7: Use Symfonium on mobile
- Download from F-Droid or Google Play. Or check their website for more info.
- Connect to the Tailscale IP:
http://<tailscale-ip>:4533 - Username and password as you defined in Navidrome.
The end
You now have your own private cloud and music streaming system running on a recycled machine. Spotify? Dropbox? No, thanks. From now on you'll only pay for the electricity your computer consumes. If you have any questions, we'd be happy for you to contact us and try to solve any problem that comes up.
Why does this matter?.. It's not just about saving money or avoiding tracking by big corporations: it's about reclaiming digital sovereignty. Every time you self-host a service, every time you choose free software, every time you recycle hardware, you're voting for a more open and less centralized internet.
But before we say goodbye, let's be honest: Tailscale (how it works) is amazing and offers a very decent free tier ensuring a secure connection between your devices, but it's not a 100% decentralized solution. While the content of your data is encrypted, the tool uses its own DERP (Designated Encrypted Relay for Packets) servers to "coordinate the network". It's not the same as handing over the content of your files, but it is a minimal dependency. If you want absolute sovereignty, there are alternatives:
- WireGuard: Set up a VPN manually (maximum control but more complex; worth noting it's what Tailscale uses under the hood).
- Headscale: Self-host your own coordination server (compatible with the Tailscale client, but without depending on its servers). Ideal if you want total control.
And one final note for those who want to go further: we've deployed this same system on a smaller, more efficient machine using 3 Docker containers.
The advantage: deploying and maintaining the services is far simpler than on bare-metal. The downside: you need to learn the basics of Docker, but if you've made it this far you can be sure that won't be a problem for you.
Anyway! Now yes, thanks for your attention and enjoy your digital independence.